


How to Migrate Sage 50 to a New Server: Complete Business Guide
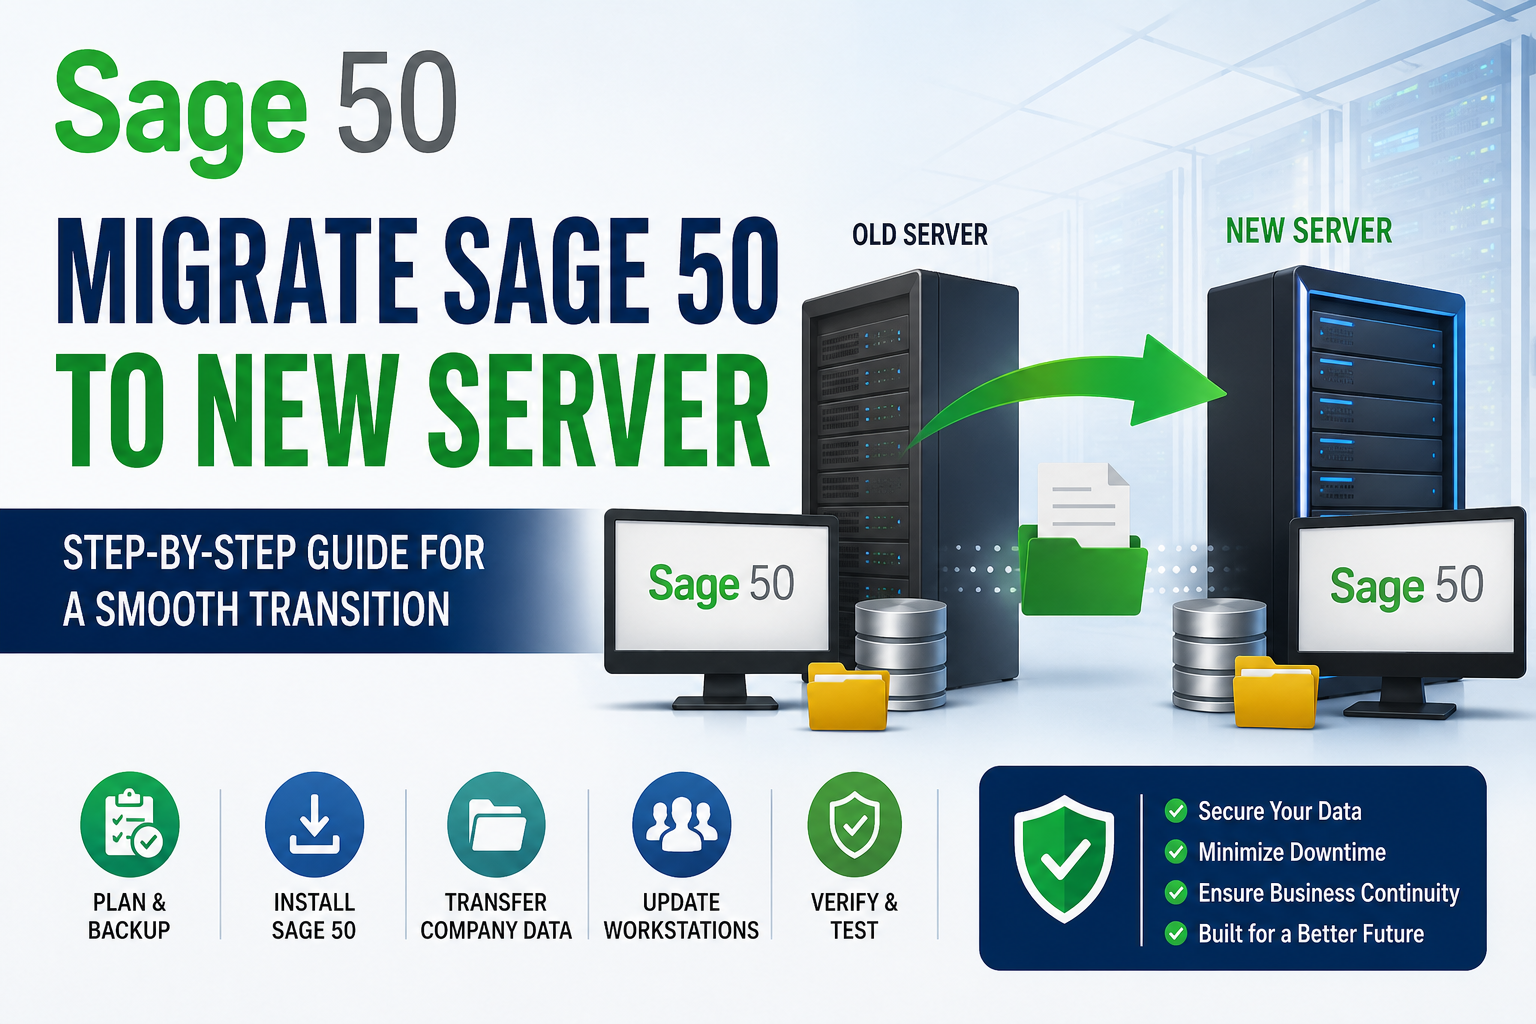
If your business is upgrading its IT infrastructure, one of the most important tasks is to migrate Sage 50 to a new server without disrupting daily accounting operations. Since Sage 50 stores critical financial data, an improperly planned migration can result in company file errors, network connectivity issues, or data loss.
Whether you're replacing an old server, expanding your office network, or deploying a virtual environment, this guide explains how to migrate Sage 50 safely while minimizing downtime.
Benefits of Migrating Sage 50 to a New Server
A new server can significantly improve the performance and reliability of your accounting system. Some of the key benefits include:
- Faster access to company files
- Improved multi-user performance
- Better protection against hardware failures
- Enhanced data security
- Increased storage capacity
- Simplified backup management
- Compatibility with newer operating systems
- Improved business continuity
Migrating to modern hardware also helps reduce maintenance costs and supports future business growth.
What You Need Before the Migration
Preparation is essential for a successful migration. Before moving your Sage 50 environment, make sure you have:
- A complete backup of all Sage 50 company data
- Sage 50 installation files
- Product license and activation information
- Administrator access to both servers
- A supported Windows Server installation
- Stable network connectivity
- Enough disk space on the new server
It's also recommended to notify employees about scheduled downtime before beginning the migration.
Step 1: Back Up Your Sage 50 Data
Before making any changes, create a full backup using Sage 50's backup utility.
Your backup should include:
- Company database
- Customer and vendor records
- Payroll information
- Reports
- Forms
- Templates
- Attachments
Verify the backup before proceeding to the next step.
Step 2: Prepare the New Server
Install all Windows updates and verify that the server meets Sage 50's system requirements.
Configure:
- Static IP address (recommended)
- Network sharing
- Windows firewall rules
- Antivirus exclusions (if required)
Preparing the server beforehand minimizes installation issues later.
Step 3: Install Sage 50
Install the same version of Sage 50 currently running on the old server.
During installation:
- Select the server installation option.
- Install available product updates.
- Activate the software.
- Restart the server after installation.
Keeping the software version consistent avoids compatibility problems.
Step 4: Move the Company Files
Copy the complete Sage 50 company data folder from the existing server to the new server.
Ensure that all related files are transferred, including:
- Company data
- Reports
- Custom forms
- Attachments
- Payroll files
- Templates
Maintain the original folder structure throughout the migration.
Step 5: Share the Company Folder
Create a network share for the Sage company data.
Grant users:
- Read permission
- Write permission
- Modify permission
Verify that all authorized users can access the shared folder before opening Sage 50.
Step 6: Reconnect Every Workstation
Each workstation must be redirected to the company file stored on the new server.
After opening Sage 50:
- Browse to the new network location.
- Open the company file.
- Save the updated connection.
Repeat this process for every user in the organization.
Step 7: Test the New Environment
Before retiring the old server, perform a complete functionality test.
Verify that users can:
- Access the company file
- Create invoices
- Record payments
- Generate reports
- Print documents
- Save reports as PDFs
- Process payroll
- Perform backups
Testing every feature ensures the migration was successful.
Common Problems After Migration
Even after a successful migration, some users may experience issues such as:
- Company file not found
- Permission denied errors
- Multi-user connection failures
- Printer configuration problems
- PDF converter errors
- License activation requests
- Slow workstation performance
- Incorrect mapped network drives
Most of these issues can be resolved by reviewing network permissions, firewall settings, and workstation configuration.
Best Practices for Sage 50 Server Migration
For the best results:
- Schedule migration during non-business hours.
- Keep the old server online until testing is complete.
- Verify backups before deleting old files.
- Document every network path and shared folder.
- Test one workstation before reconnecting everyone.
- Install the latest Sage 50 updates after migration.
- Monitor the new server for several days.
These practices reduce downtime and simplify troubleshooting.
Final Thoughts
Successfully migrating Sage 50 to a new server requires more than simply copying company files. Careful planning, verified backups, proper installation, secure file transfers, and thorough testing all play an important role in ensuring a smooth transition. By following the steps outlined above, businesses can move to a new server with confidence while improving performance, enhancing security, and providing a more reliable accounting environment for every user.

 English
 Arabic
 French
 Spanish
 Deutsch
 Turkish
 Dutch
Dutch
 Italiano
 Russian
 Romaian
 Portuguese (Brazil)
 Greek
Greek